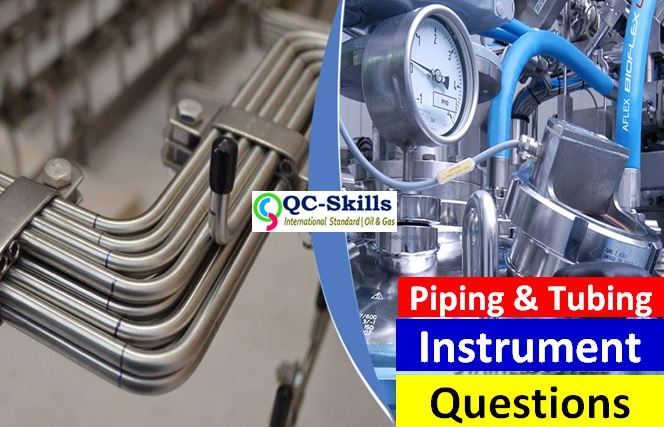
Instrument Piping and Tubing QAQC Questionnaires
Tubing Installation
PPPFL‐001
PIP 4.2.8.1 Interconnecting
instrument piping (tubing) between the primary metering
element and the measuring instrument shall be 0.5 inch
AISI Series 300 stainless
steel tubing minimum. Tubing wall thickness shall be 0.89
mm (0.035 inch)
minimum. Applicable piping code and process requirements
shall prevail.
PIP 4.2.8.2 Interconnecting
piping shall be limited to a maximum length of 6 m (20 ft) for
meters in control loops. Interconnecting impulse tubing
between a differential
flow element and a transmitter in compressor suction
service shall be kept as
close as possible or close coupled.
PIP 4.2.8.3 Interconnecting
Seal liquid to protect flow meter impulse tubing and secondary
measurement instrumentation from corrosive fluids or to
provide a stable
hydraulic measuring medium shall be free flowing but not
volatile under normal
process and external ambient conditions. Seal liquids
shall not be miscible with
nor react with the process fluid being measured. Seal
liquids shall be selected so
that their potential for contamination of the process
fluid is acceptable.
PIP 4.2.8.4 (Addition)
PIP PCIDP000 “Differential Pressure Installation Details” shall be
used
for interconnecting the flow Differential Pressure
Instruments to the root valves
of the differential producers.
PIP 4.6.2.c (Addition)
Purging of impulse lines shall be considered only if other methods
have failed to eliminate problems of condensation,
vaporization, corrosion or
plugging.
34SAMSS831
Installation
8.1.1 Pressure
and D/P instruments in liquid or condensable vapor service shall be selfventing
(i.e., mounted below the process connections) with all
impulse lines
sloping downward approximately 1:10 minimum toward the
instrument.
Pressure and D/P instruments in gas service shall be self‐draining
(i.e., mounted
above the process connections) with all lines sloping
downward approximately
1:10 minimum toward the process connection.
8.3 Instrument Piping and Tubing
The instrument piping and tubing installation shall ensure
the reliable and
accurate operation of the instrument(s) involved, and
allow sufficient access for
maintenance, calibration and testing. It shall be possible
to test all alarm and
shutdown initiating devices, without interfering with the
process operation of
the packaged unit.
Instrument tubing shall be adequately supported to
eliminate any vibration
transmission to the instruments or excessive load to the
piping connection,
process line or vessel.
Tubing to and from non‐indicating instruments shall have a
plugged tee or
equivalent test point for calibration and testing
purposes.
All threaded connections shall be tapered per ASME
B1.20.1.
All incoming and outgoing interconnection lines shall
terminate in bulkhead
fittings. The lines shall be marked with the tag numbers
of the corresponding
instruments. Bulkhead fittings shall be installed with
adequate spacing to ensure
that any connection can be removed without the need to
remove other fittings.
9.2.2 Tubing and Fittings
9.2.2.1 Tubing
Stainless
steel tubing shall be seamless, annealed, minimum
wall thickness 1.24 mm, per ASTM A269, Grade TP‐316L.
Instrument air tubing shall be ¼ inch, 3/8 inch, or ½ inch
OD
stainless steel. Wall thickness shall be 0.75 mm or
larger.
9.2.2.2 Fittings
316
stainless steel compression fittings shall be either Crawford
Swagelok, Parker Hannifin A‐Lok, Parker Hannifin Corp. CPI
or
Hoke Gyrolock. Any proposal to use fittings other than
those
listed above shall be reviewed by Supervisor,
Instrumentation
Unit,
Process Instrumentation Division, and P&CSD.
- ARAMCO :: CBT QA/QC – Instrumentation Inspector Qualification Guideline
- Instrumentation Inspection and Quality Control CBT 2021 Questioner – Part-04
- Top 50 Questioner Instrumentation Inspection and Quality Control CBT 2021 – Part-05
- Saudi Aramco Cbt Exam Questions and Answers
- QA/QC Inspector Question & Answer Handbooks-2021
- QA/QC E-books Category
- QAQC Questionnaires CONDUIT; CABLE TRAY; ENCLOSURES;
- QAQC Questionnaires FIELD INSTRUMENT; JUNCTION BOX; COLOR CODING; Grounding (J902)

